Publishing with Mission
Oxrose Press offers published books, CDs, and other materials to accompany the Schola Rosa Curriculum and Oxrose Academy. Our mission is docere ut salventur ~ "Education for Salvation" carried out in obedience and fidelity to the Catholic Church. Our philosophy of education is a unique mix of Charlotte Mason, Classical and Scholastic insights, Thomistic Realism, and common sense. As a business, we strive to provide well made, cost effective, and professional products and services.
PRODUCT LINES
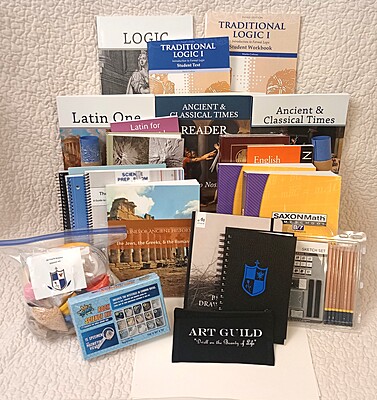
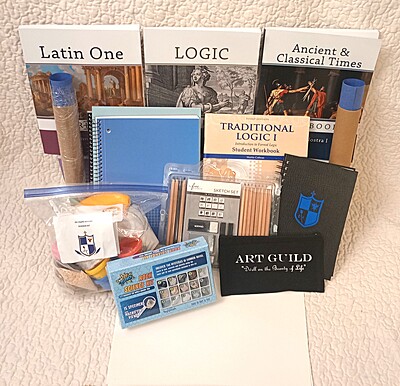
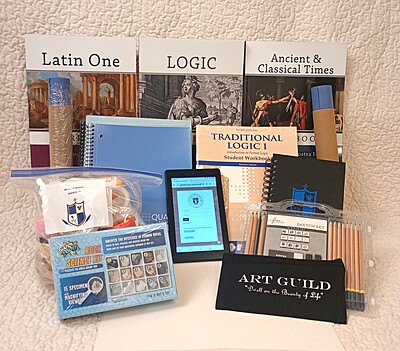
Pre-K to 6th Grade Catholic Curriculum
With just a username and password, you have access to an entire, robust, catholic curriculum from anywhere in the world -- from your home or car.

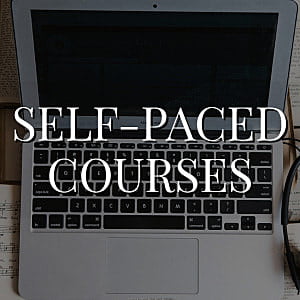
7th-12th Grade Self-paced Catholic Courses
With digital access, your teenager may access his or her curriculum from anywhere. Video lectures, online quizzes, and robust resources.
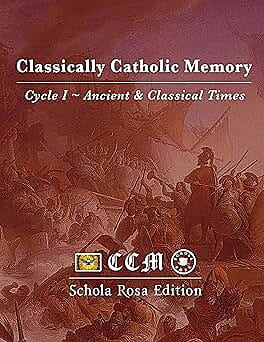
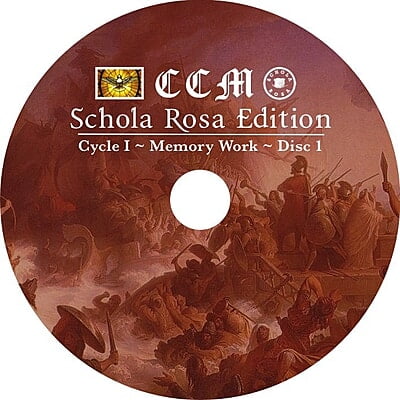
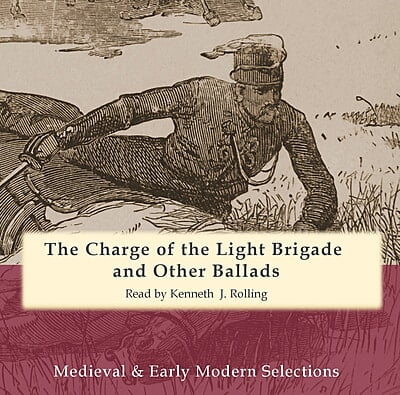
Classically Catholic Memory
A memory work program for any curriculum. Schola Rosa integrates this program from the beginning. Add it to yours separately anytime and anywhere.
Bringing Together Families in Community
"My favorite aspect of Schola Rosa is the cheerful interaction the children have with other students and teachers. It keeps me, mom/teacher, on a schedule. They do and see things I would have to work hard to make happen, i.e. many hands make the work light. We LOVE Schola Rosa!!!”
~ Parent in Virginia.


")
")


")


")
")
")
")
")
")
")
")


")

")
")
")
")
")
")


")
")
")
")
")
")